Quickstart
This quickstart will guide through installing and deploying your first application with seelf locally. Doing so, you'll gain a general understanding of different resources managed by seelf.
What is seelf?
seelf is a self-hosted software which makes it easy to deploy your own applications on your own hardware using an easy to use interface.

At its core, seelf just reads a compose.yml file, deploy services which must be exposed and manage domains and certificates for you.
For the majority of cases, a locally working compose.yml file is sufficient, making the transition from a local stack to a remote one a breeze.
INFO
For now, only the Docker provider is available but that may change in the future to support others as well, such as Docker swarm, Podman, Kubernetes and so on.
Think of it as an alternative to services like Heroku, Dokku, Caprover, Coolify.
Now that you know what is seelf, let's dive in and go through all the steps needed to deploy an application of our own!
Prerequisites
Since we're targeting a local docker instance in this tutorial, the only prerequisite is a docker engine (>= v18.0.9) up and running.
Installing
For this quickstart, we'll deploy seelf using a local docker engine. If you want to host seelf on a remote server, there's better way, see the installation guide for more information.
Launching seelf is as easy as:
docker run -d -e "ADMIN_EMAIL=admin@example.com" -e "ADMIN_PASSWORD=admin" -v "/var/run/docker.sock:/var/run/docker.sock" -p "8080:8080" yuukanoo/seelfThis will launch a seelf instance and create an admin account with the credentials provided if no user account exists yet (if a user already exists, they will be ignored).
WARNING
Since this is a one-shot instance, we do not attach volumes to persist data generated by seelf and everything will be discarded with the container. In a production environment, you must attach them as described in the installation section.
You can now head over http://localhost:8080 and sign in using admin@example.com and admin as the password or whatever credentials you set above.
Create your first target
The first things to do is to define a target which will receive our application deployments.
Head over the targets page and click the New target button.
Fill the form with a name such as local and a valid root URL, for this example, we'll go with http://docker.localhost. This URL is important since every application will be exposed as a subdomain on it. If it starts with https, certificates will be issued automatically.
Go with the default provider options targeting our local docker engine and click Create.
Doing so will trigger the target configuration process, deploying the needed infrastructure (ie. the traefik proxy mainly) on the docker instance.
Create your first application
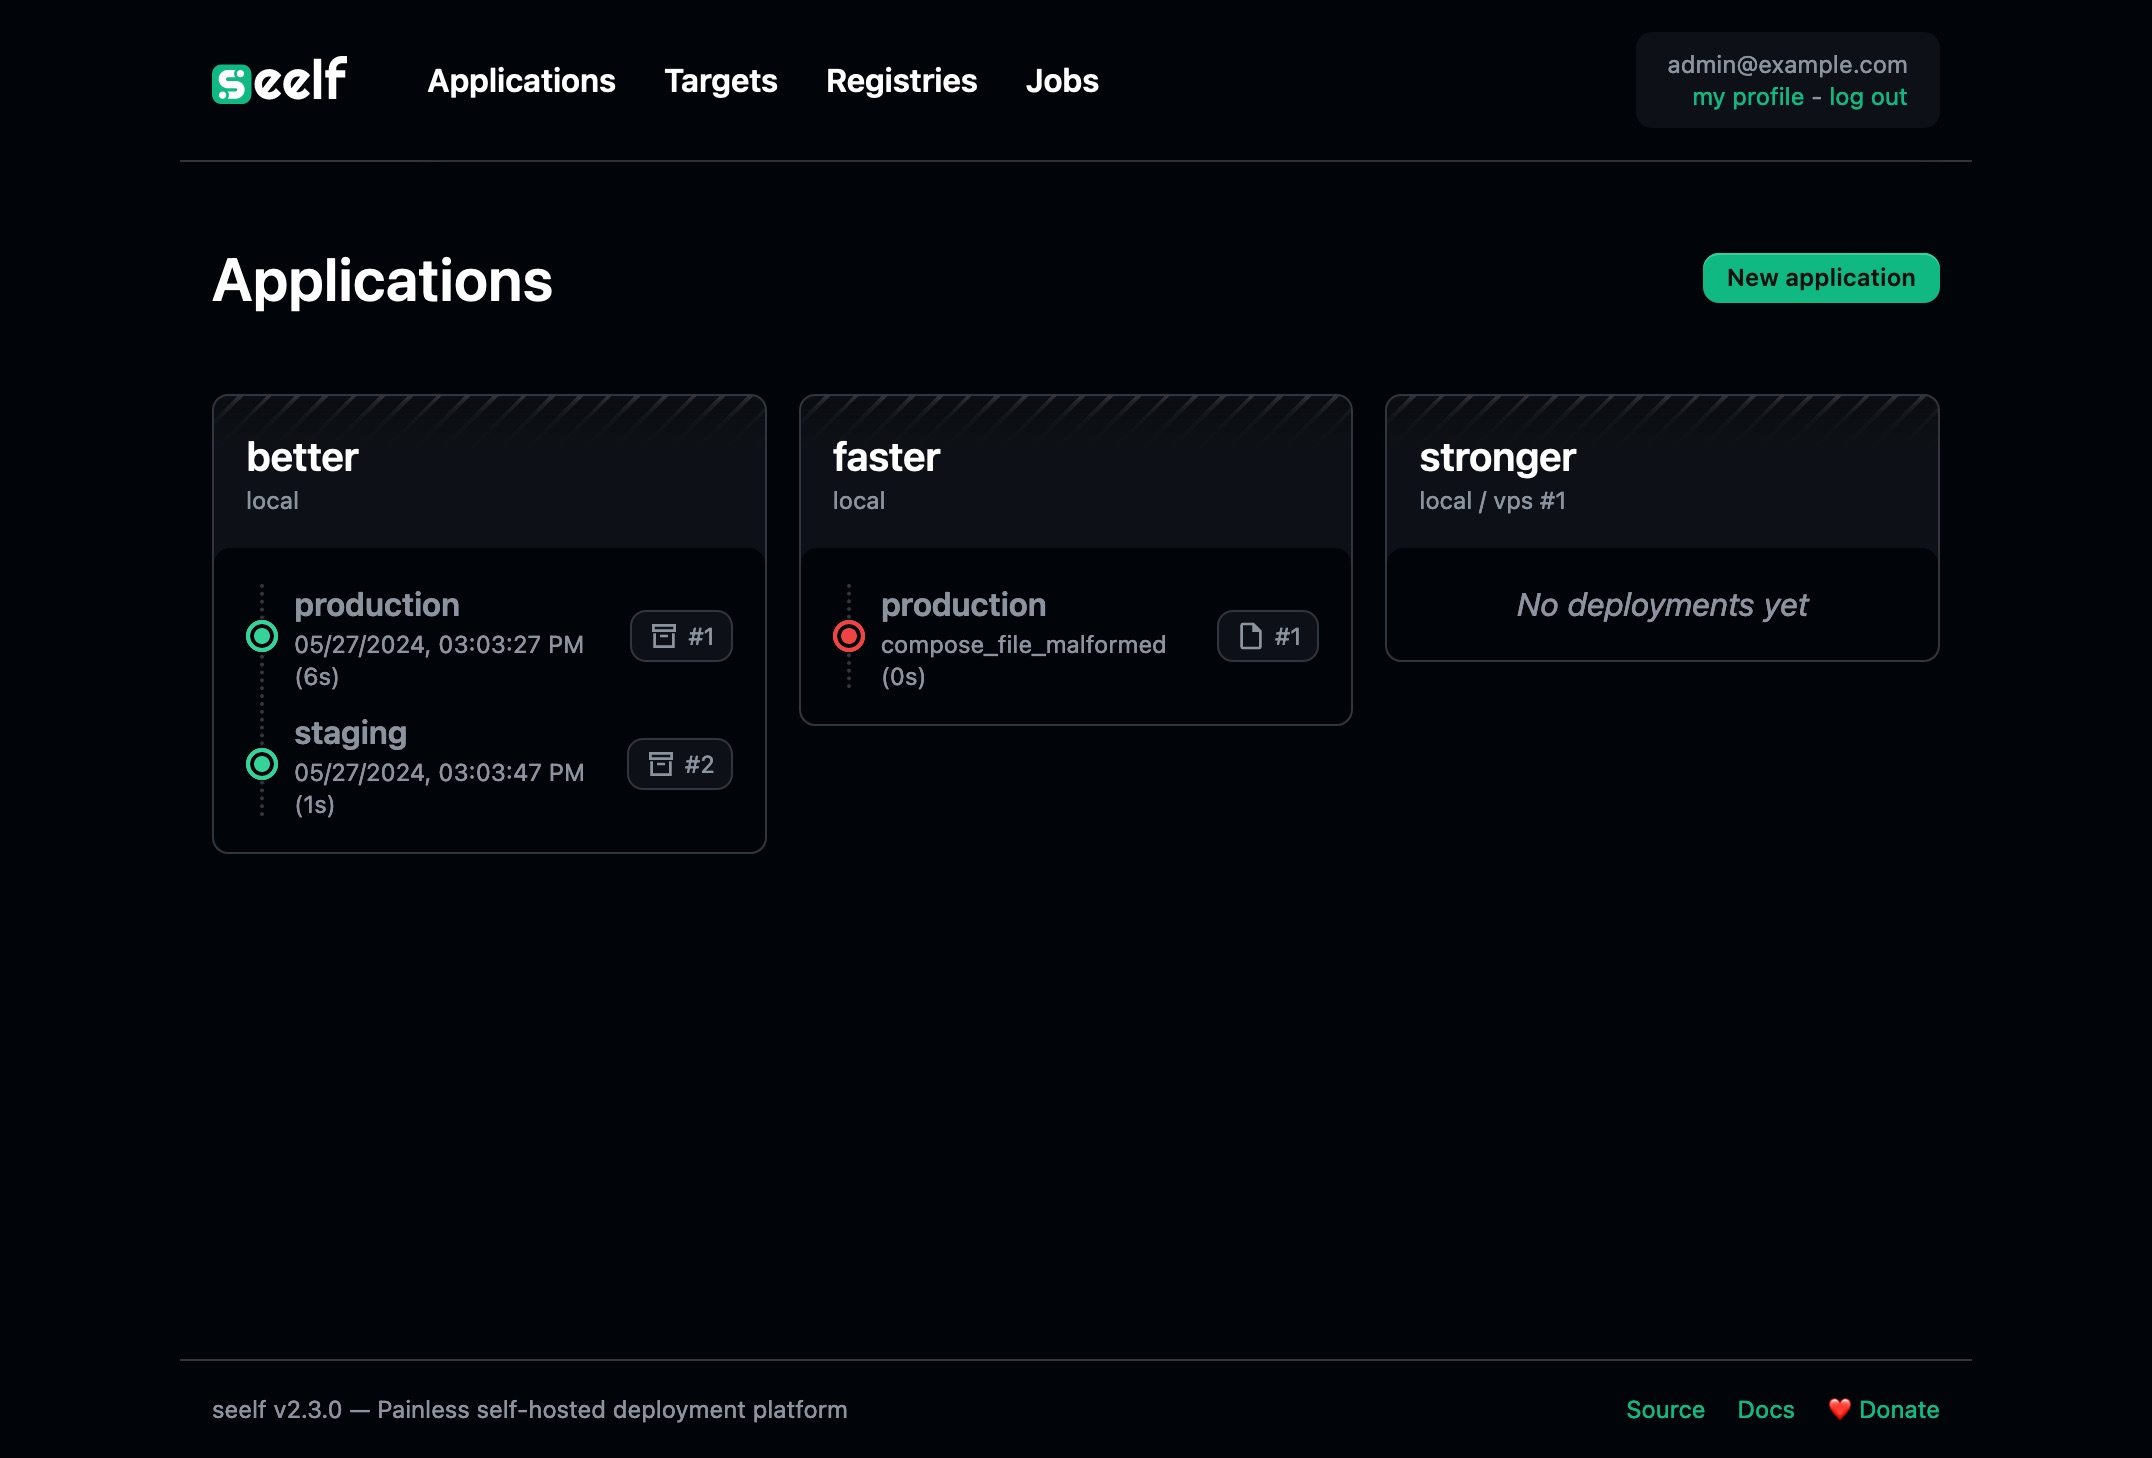
Now that we have our target, go to the applications page and click the New application button.
Let's give it a name such as welcome. The application name will determine at which subdomain it will be available. It should be unique across targets and environments to make sure there's no collision on URLs.
We don't need to set anything else for our example, so let's click Create.
If you wish to dig further, see the application reference.
Your first deployment
After the application creation, you should see the application page. Click the New deployment button to trigger your first deployment.
Depending on wether or not you have filled the application version control settings, different options will be available.
Let's deploy a Sveltekit application packaged as an archive in the examples directory of the seelf source code.
Download the archive, select the project archive kind in the form dropdown and choose the archive file you've just downloaded in the file input.
Now we're ready to click the Deploy button. You should see the deployment logs and after a few seconds/minutes depending if you already have the base images locally, you should be able to access http://welcome.docker.localhost and see the application running!
Congratulations 🎉, you have deployed your first application with seelf!
Cleaning up resources
Before ending this quickstart, let's cleanup every resources we've just deployed.
Go back to the application page and click the Edit application button. Now, click the Delete application button and confirm. If you have successful deployments on an environment, a cleanup will be executed to free up some space and delete everything related to the application.
DANGER
Deleting a resource in seelf is always permanent and cannot be undone. If you want to make backups, you should do it before.
Since we have a deployment, you can view the cleanup progression in the jobs page which list every background jobs queued by seelf.
INFO
Some jobs may be cancellable. This is the case for the cleanup ones because in rare cases, it may fails. For example, the target may not be reachable anymore but from the seelf perspective, if you have deployed something in the past, it should clean it up.
Cancelling a cleanup job will allow the application deletion in this case.
After a few seconds, your application should be deleted.
We'll do the same for our target. Go to the target page, click the Delete target button and confirm. The process is the same as for the application one.
And now we're done! Every resources have been properly cleaned up.